
Intro
Recently I’ve had some horrible issues with inconsistent extrusion on my Voron 0.1. It all started after a hot end cooling fan failure and the subsequent rebuild of the mini afterburner. Anyway it was fortuitous timing in that I had just received an Orbiter V2.0 from LDO to review. That review will be coming soon, this article is just a quick glimpse at installing it on the Voron 0.1
DISCLAIMER: This Orbiter v2.0 was provided free of charge by LDO for me to review.

BOM
- New x carriage
- Dragon/Dragonfly cowling
- Cable support
- LDO Orbiter V2.0 kit (Can be bought from local resellers or from Trianglelab)

Interestingly there is already a modified tool head for the Orbiter V2.0 curtesy of KurioHonoo (Github). It does require you to print a new carriage but that isn’t a particularly big hurdle. Off I went and printed the parts only to find that the stock bolt length provided with the Dragonfly hot end was not long enough. I also took the liberty of modelling a cable support and including that in pull request as the offset angle on the orbiter motor mounts prohibit the use of the original one (Grey part on the back of the motor).

Fortunately, this is a 2-minute fix in Fusion 360 and then back on the printer (after re-assembling the mini ab again). The modified version can be found in the pull request here and will hopefully get merged soon. Assembly of the tool head is exponentially easier than the mini afterburner. You literally put the whole thing together with 11 bolts. I was a bit worried it wouldn’t look very neat but actually printed in all black it looks like a lean mean extruding machine! The hardest part as always is clamping the belts and getting the right tension again. Don’t forget to take the time to cable tie those wires in place while you still have easy access. In addition you will need some PTFE tube. It should stick out about 7mm from the top of the extruder and this located into the Orbiter V2.0.


The result is a surprisingly neat and compact looking extruder / hot end assembly. It still embodies some of the original mini afterburner feel but without the hard to get right extruder.

Updating the firmware is straightforward because LDO provides a list of Klipper settings for the extruder and stepper. Use their defaults as a starting point – they work well!

I’ve copied the relevant section from my printer.cfg here to speed things up! Make sure to comment out the gear ratio line that was probably present in your original v0 config!
[extruder]
step_pin: PB3
dir_pin: PB4 # Add ! if moving opposite direction
enable_pin: !PD2
full_steps_per_rotation: 200 # Set to 200 for LDO 1.8° stepper motor, and set to 400 for OMC(StepperOnline) 0.9° stepper motor
rotation_distance: 4.637 # See calibrating rotation_distance on extruders doc
#gear_ratio: 75:10 # For Mini Afterburner
microsteps: 16
nozzle_diameter: 0.400
filament_diameter: 1.750
heater_pin: PC8
sensor_type: EPCOS 100K B57560G104F # Adjust for your hotend thermistor. See 'sensor types' list at end of file
sensor_pin: PA0
#control: pid # Do PID calibration after initial checks
#pid_Kp: 28.182
#pid_Ki: 1.978
#pid_Kd: 100.397
min_temp: 0
max_temp: 270
min_extrude_temp: 170
max_extrude_only_distance: 500
max_extrude_cross_section: 0.8
pressure_advance: 0.025 # See tuning pressure advance doc
pressure_advance_smooth_time: 0.030
[tmc2209 extruder]
uart_pin: PC11
tx_pin: PC10
uart_address: 3
interpolate: True
## For OMC (StepperOnline) 14HR07-1004VRN 1A 0.9°
#run_current: 0.5 # for OMC 14HR07-1004VRN rated at 1A
#hold_current: 0.3 # for OMC 14HR07-1004VRN rated at 1A
## For LDO LDO 36STH17-1004AHG 1A 1.8°
run_current: 0.85 # for LDO 36STH17-1004AHG
hold_current: 0.1 # for LDO 36STH17-1004AHG
sense_resistor: 0.110
stealthchop_threshold: 0 # Set to 0 for spreadcycle, avoid using stealthchop on extruder
driver_TBL: 0
driver_HEND: 6
driver_HSTRT: 7
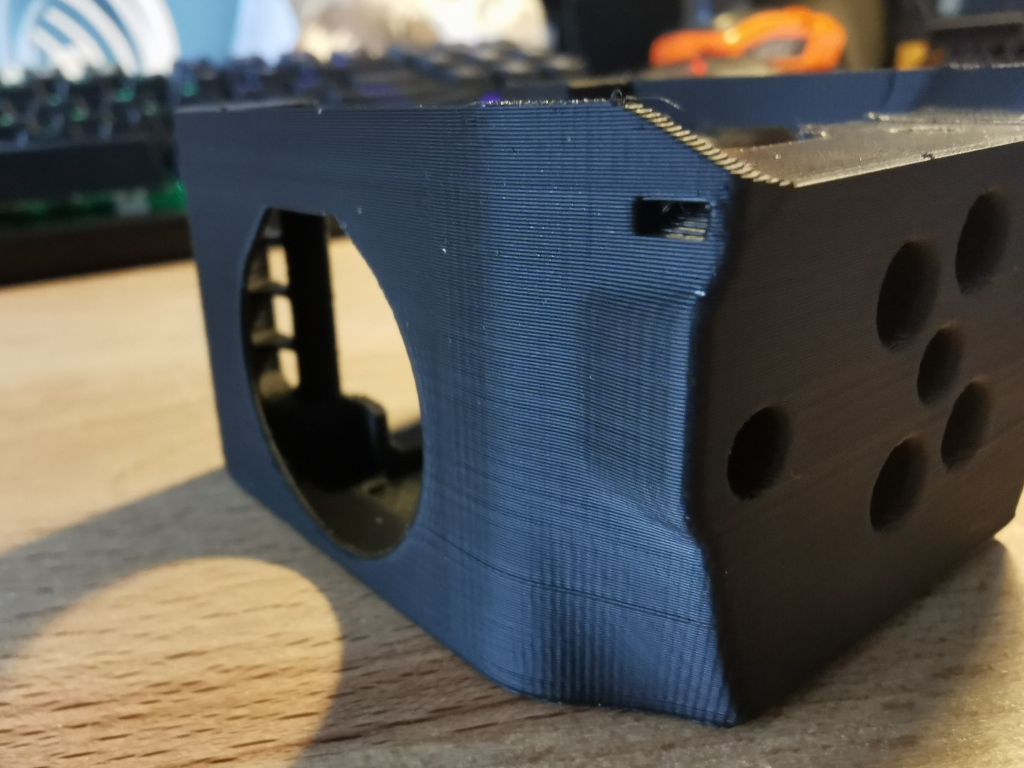
driver_TOFF: 4Right away I was getting much much better print quality than I had been getting recently from the mini afterburner (recently – Note when I first assembled my voron 0.1 I had great quality but unfortunately I couldn’t get it back to that state in the past few weeks). These layer lines are not perfect in these prints but now it looks like a Z-axis issue as it is an entire layer bulge, not a wavy in-out pattern on every layer. You will notice that I re-printed this cowl… this is my perfectionism showing here as the original had the horrible wavy lines from the problem I was trying to solve! Functionally it was fine but it didn’t look the part!

Keep an eye out for the Orbiter V2.0 review coming soon. To be kept up to date or to ask questions head on over to the discord and say hello!

hi ,
where can i find the STL file for the mount ?? i have an orbiter 2.0 and a voron 0.1
LikeLike
https://github.com/KurioHonoo/Mini-AfterSherpa/tree/main/STL/Mini_AfterSherpa
LikeLike
thnx
LikeLike
is there a better part cooling solution for the voron v0 ???
LikeLike
Check out the voron user mods github. There are a few designs with more cooling!
LikeLike